|
My closest childhood friend is getting married in the fall, and I volunteered to help out with some of the decorations. She wanted a chalkboard menu, so she found a great chalkboard at TJ Maxx and handed it over to me. I've seen so many adorable decorated chalkboards in grocery stores, bistros, and aaallll over Pinterest. Utilize Pinterest for brainstorming ideas, since the possibilities are endless! This is the final result of my chalkboard menu, and some tips to make your own: 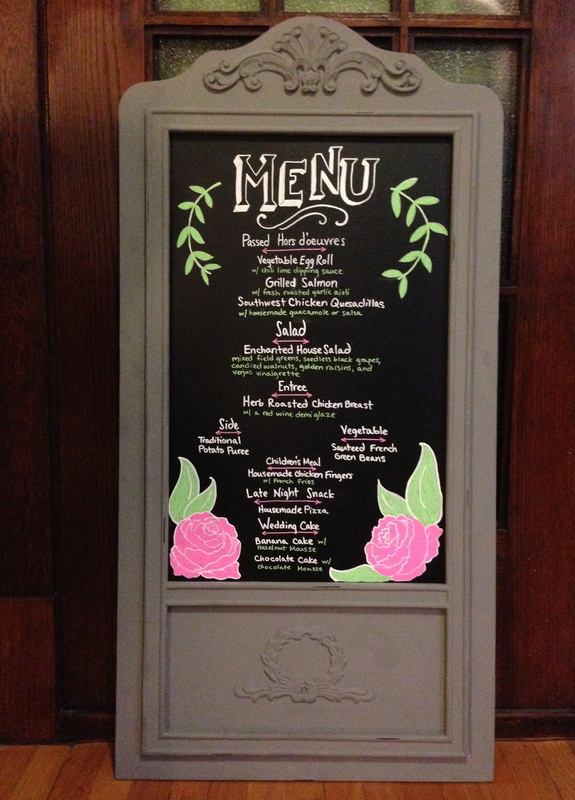 I was a little overwhelmed at first, trying to decide how I wanted the menu to look, and how to accomplish it without messing up! 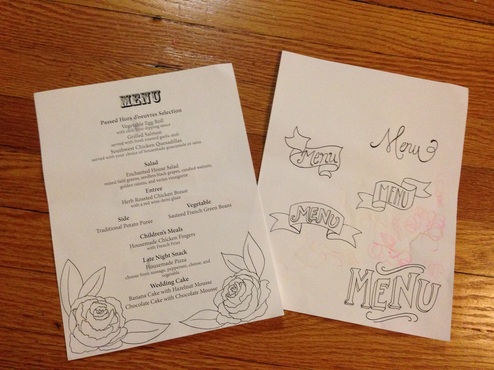 I found it helpful to play around in Adobe InDesign to format the text first. This way, I was able to figure out the spacing and the placement of the text before I went bananas with the chalkboard markers. I also toyed with drawing different "MENU" lettering options for the header, and asked the bride which she liked and which she didn't. Personally, I decided to go the route of grocery stores and bistros and use chalkboard markers instead of traditional chalk, since I didn't want my hard work to erase easily. I bought my markers at Paper Source, and this is what I got:  The white marker is a different brand than the colored markers, which came in a 4-pack. The white marker is made by Chalk Ink, and the colored markers are called "Bistro" and are made by Uchida. All are supposed to wipe off with either water or an ammonia-based cleaner, so they shouldn't be permanent, in case you want to change up your chalkboard art, or if you mess up and need to re-start. They also chip off a bit when you scratch at the dried ink once you've drawn on the chalkboard, so be careful handling/transporting the board. It seems pretty durable with light touches, though. Before it was time for markers, I lightly drew on all lettering and the flowers with a white colored pencil, which I found really helpful in translating the spacing from the InDesign printout to the real board. I found the two different marker brands worked pretty much the same, and didn't really notice any quality difference. That said, filling in larger forms was tricky, as the markers didn't blend with themselves very well, and tended to get really streaky. Most of the lettering was just fine, and the ink flowed well. I tried to do a second coat on the filled-in forms (the peonies and the leaves) once the first coat dried, to see if it would even out the streaks, but it just kind of re-liquified the first coat and moved it around. I was able to eventually fix some of the streaking this way, but it was frustrating. I would recommend being strategic and creative with your streaks so that you don't attempt a second coat. 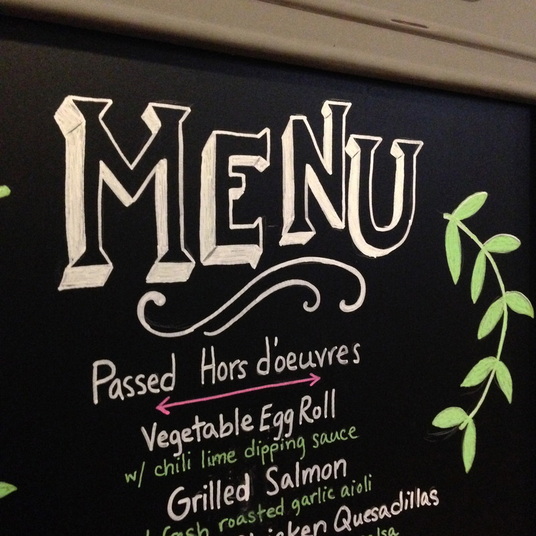 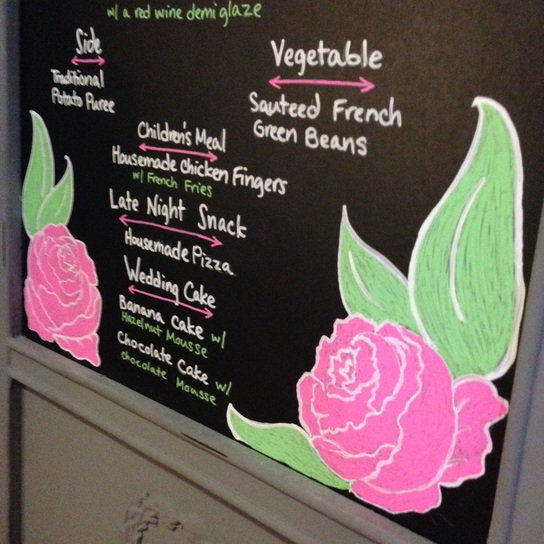 Overall, I'm pretty happy with the results, and the bride loves it, so that's what matters most!
I'm already itching to get my hands on more chalkboards to decorate. What's great is that these markers also work on glass and other non-porous surfaces...so I think some mirror and window drawing may be in my future...
2 Comments
|
AuthorKaty Higgins Archives
May 2016
Categories |
 RSS Feed